


A Guide to Achieving a Flawless Base Every Time
We all love a matte foundation. They provide a flawless coverage and have the ability to make your skin appear what makeup dreams are made of. However, before you think you can just slap on your favourite formula and dash out the door, there are more than a few steps you need to take to ensure a filter-like finish.
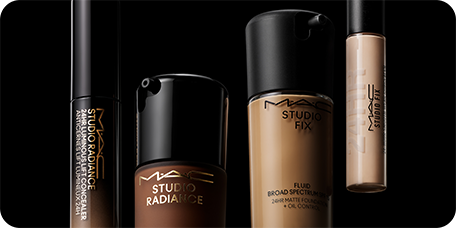
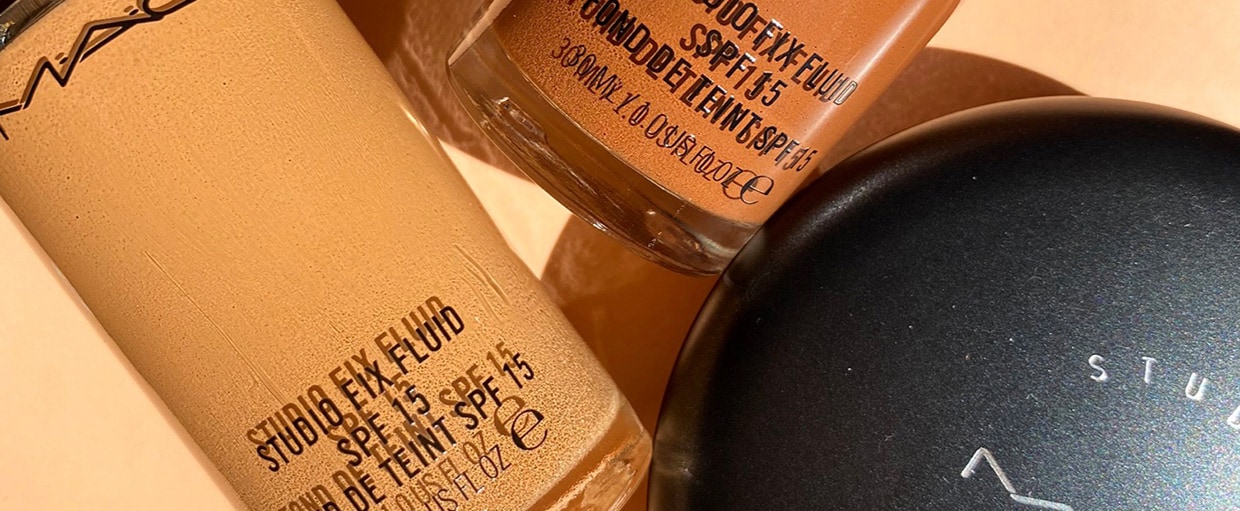
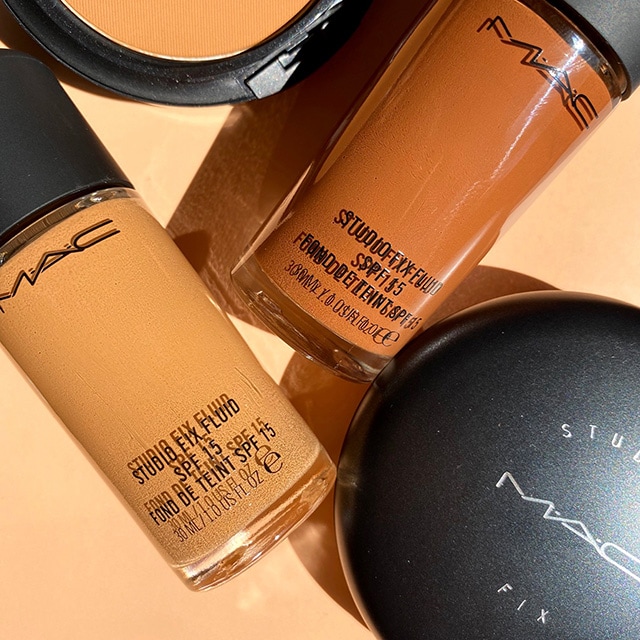
M.A.C makeup artist and Retail Education Manager for Queensland and Northern Territory in Australia Chloe Tuner shares her need-to-know tips for your best matte foundation look yet using our cult Studio Fix Fluid SPF15 Foundation.
STEP 1: ALWAYS PREP YOUR SKIN
Think about your skin like you would paint a wall in your home; the more prep and sheer layers you apply to conceal the texture and imperfections, the more flawless and opaque the final product will be, explains Turner. “It’s the same when applying your Studio Fix Fluid SPF15 Foundation – moisturiser and makeup primer are going to give the matte foundation formula the wheels to glide on and give you a flawless all-day wear.”
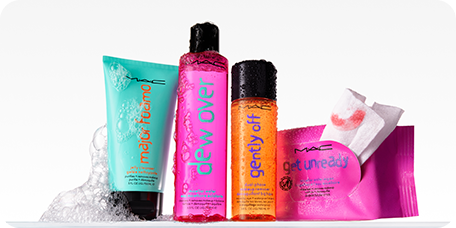
“Preparing your skin foundation is super-important to ensure that you get the finish and longevity you’re after, and it’s even more crucial when you’re using a matte foundation as matte formulas tend to accentuate any texture or dryness on the skin,” she adds. For oily skin types, Turner advises that matte foundations typically contain the ingredient silica, an oil- and sweat-controller, however you’ll still need to give the foundation some support with a primer for oily skin. “Try our Mineralize Water Charged Moisture Gel, which is a fast-absorbing mattifying primer formula that is super-lightweight and cooling to prep the skin prior to applying Studio Fix Fluid SPF15 Foundation.” If, however, you’re prone to dry skin, it’s imperative you add additional moisture before your foundation application; Turner recommends the Prep + Prime Essential Oils Grapefruit + Chamomile, a luxurious facial oil that you can smooth on to give your skin a welcome boost of hydration, and will help to prolong the life of your foundation.
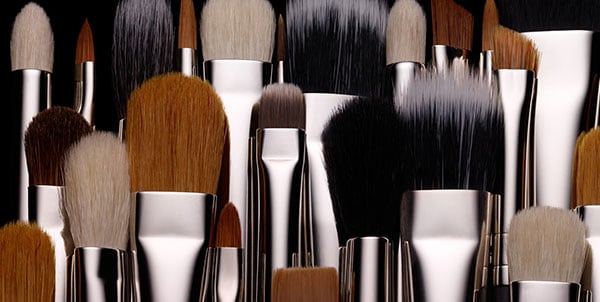
STEP 2: APPLY FOUNDATION WITH A BRUSH
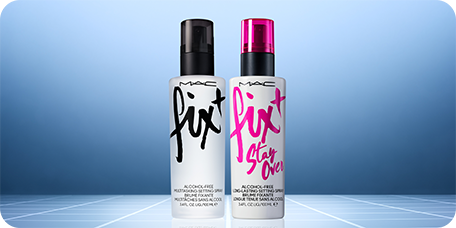
“I would highly recommend using a firm foundation brush that does all the hard work for you, such as the 170 Synthetic Rounded Slant Brush; it’s like a brush and sponge in one and gives you instant coverage with Studio Fix Fluid SPF15 Foundation. It also has a dome-like shape, which means you can use it to blend concealer under your eyes and over any imperfections,” says Turner. She recommends using the back of your hand or a palette, pump out your foundation and then spritz your foundation brush with your favourite Fix+ formula before applying to your face. “Often the brush can absorb a lot of product when it’s dry, so this way you’re giving it a little extra help with the Fix+. Then, using circular motions, start in the T-Zone and buff your foundation into the skin and to the outer parts of the face, making sure you take it slightly down the neck and over your ears lightly.” Build the coverage up gradually so you have sheer layers of foundation; not only will this help it to last, it will also help the matte foundation wear off evenly.
STEP 3: SET WITH A LIGHT APPLICATION OF POWDER
Whether you love using powder for additional coverage on areas you need it most, or for when your makeup needs a touch-up, Turner says that here in Australia, a little powder through the T-Zone is essential to lock your matte foundation in place and keep shine at bay. “If you have oily skin, I would recommend our Studio Fix Powder Plus Foundation; it’s amazing for mattifying and smoothing whilst also controlling oil,” she explains. “If you have dry skin, try the Mineralise Skinfinish Natural – it’s a hydrating formula that give your skin a natural, your-skin-but-better finish.”